Drawing a dog can be a rewarding and enjoyable experience, especially when it’s your beloved pet and you use the powerful tools available on the iPad Pro with Procreate and the Apple Pencil.
Posing Your Dog
How do you get your furry friend to pose for sufficient time? The best approach is to ensure your dog is comfortable and relaxed. Choose a familiar setting where your pet feels at ease, such as their favorite spot in the house or garden. If possible, have someone your dog trusts nearby to help keep them calm and still.
You can also try engaging your dog with a favorite toy or treat to hold their attention and encourage them to maintain a stable pose.
Step 1: Setting Up Your Procreate Canvas Before Drawing a Dog
When you open Procreate on your iPad Pro, you are stepping into a world of endless creativity and artistic possibility. Creating a new canvas is like opening a blank page in a sketchbook, waiting to be filled with your imagination.
Choosing colors that complements your dog’s fur can help create a harmonious and visually appealing composition.
Although a canvas size of 3000 x 2000 pixels at 300 DPI may sound like overkill, it’s essential to ensure that your drawing will be crisp and detailed.
When selecting a background color for your canvas, consider how it can enhance the overall look of your drawing.
The background color you choose can also impact how you focus on the essential details of your drawing. A subtle, understated background can help draw attention to your dog’s intricate features, such as its eyes, nose, and expression.
On the other hand, bold or vibrant background colors can add energy and personality to your drawing. So, take your time to experiment with different background colors in Procreate. See how each one influences the overall look and feel of your drawing.
Let your creativity flow as you explore the endless possibilities of this digital art platform, and watch as your vision comes to life on the screen of your iPad Pro.
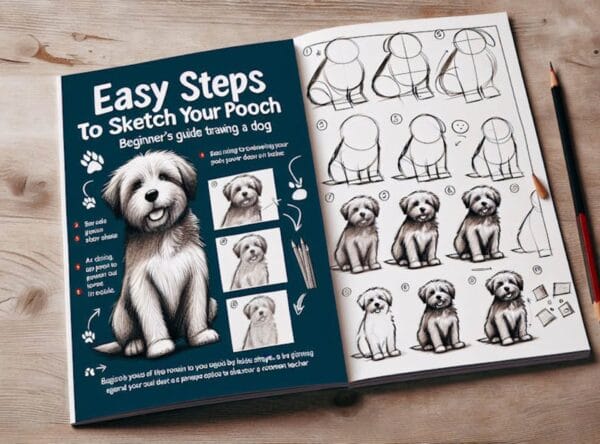
Step 2: Sketching the Basic Shapes
Start by using the 6B Pencil brush to sketch the basic shapes of your dog’s head, body, and limbs. Pay attention to capturing the overall proportions and gestures of your pet’s pose without getting caught up in the details. The main goal is to lay down a strong foundation for your drawing.
Focusing on these fundamental elements can help you create an accurate map for your drawing that will guide you as you add more detail later.
Sketch your dog’s head, paying close attention to its shape and size relative to the body and to the angles and curves that make up the unique features of its face.
Similarly, the body should be outlined, emphasizing its overall proportions and specific characteristics that make your dog stand out. As you sketch your dog’s limbs, consider the positioning and movement of each one to portray your pet’s pose accurately.
This stage of the drawing process is about capturing the essence of your dog’s posture and energy. Don’t worry too much about perfecting every detail. The 6B Pencil brush will help you create a realistic and lifelike drawing of your beloved pet.
Remember to focus on the overall proportions and gestures of your dog’s pose to ensure that your final artwork captures the essence of your furry friend.
Step 3: Refining the Sketch
Once you have drawn your dog’s basic shapes in your sketch, enhance it with more defined lines and curves.
Using the Eraser tool, you can easily clean up any stray or overlapping marks that may detract from the overall appearance of your drawing. Pay close attention to the breed-specific features of your dog, such as the shape of its snout, ears, and tail.
These details will help bring your sketch to life and make it more accurate to the actual characteristics of the breed you are drawing. When adding more defined lines and curves to your sketch, consider the texture of your dog’s fur.
Use short, quick strokes to mimic the fur and add depth to your drawing. Focus on capturing the unique characteristics of your dog’s breed, whether it be a fluffy coat, floppy ears, or a curly tail. Adding these details will make your sketch more realistic and engaging for viewers. As you refine your sketch, don’t hesitate to experiment with different techniques and tools to achieve the desired effect.
Practice makes perfect, so take your time and enjoy bringing your dog to life on paper. Remember, art is a form of expression, so add your unique touch to your drawing. By paying attention to the breed-specific features and adding more defined lines and curves, you can create a beautiful and accurate representation of your beloved pet.
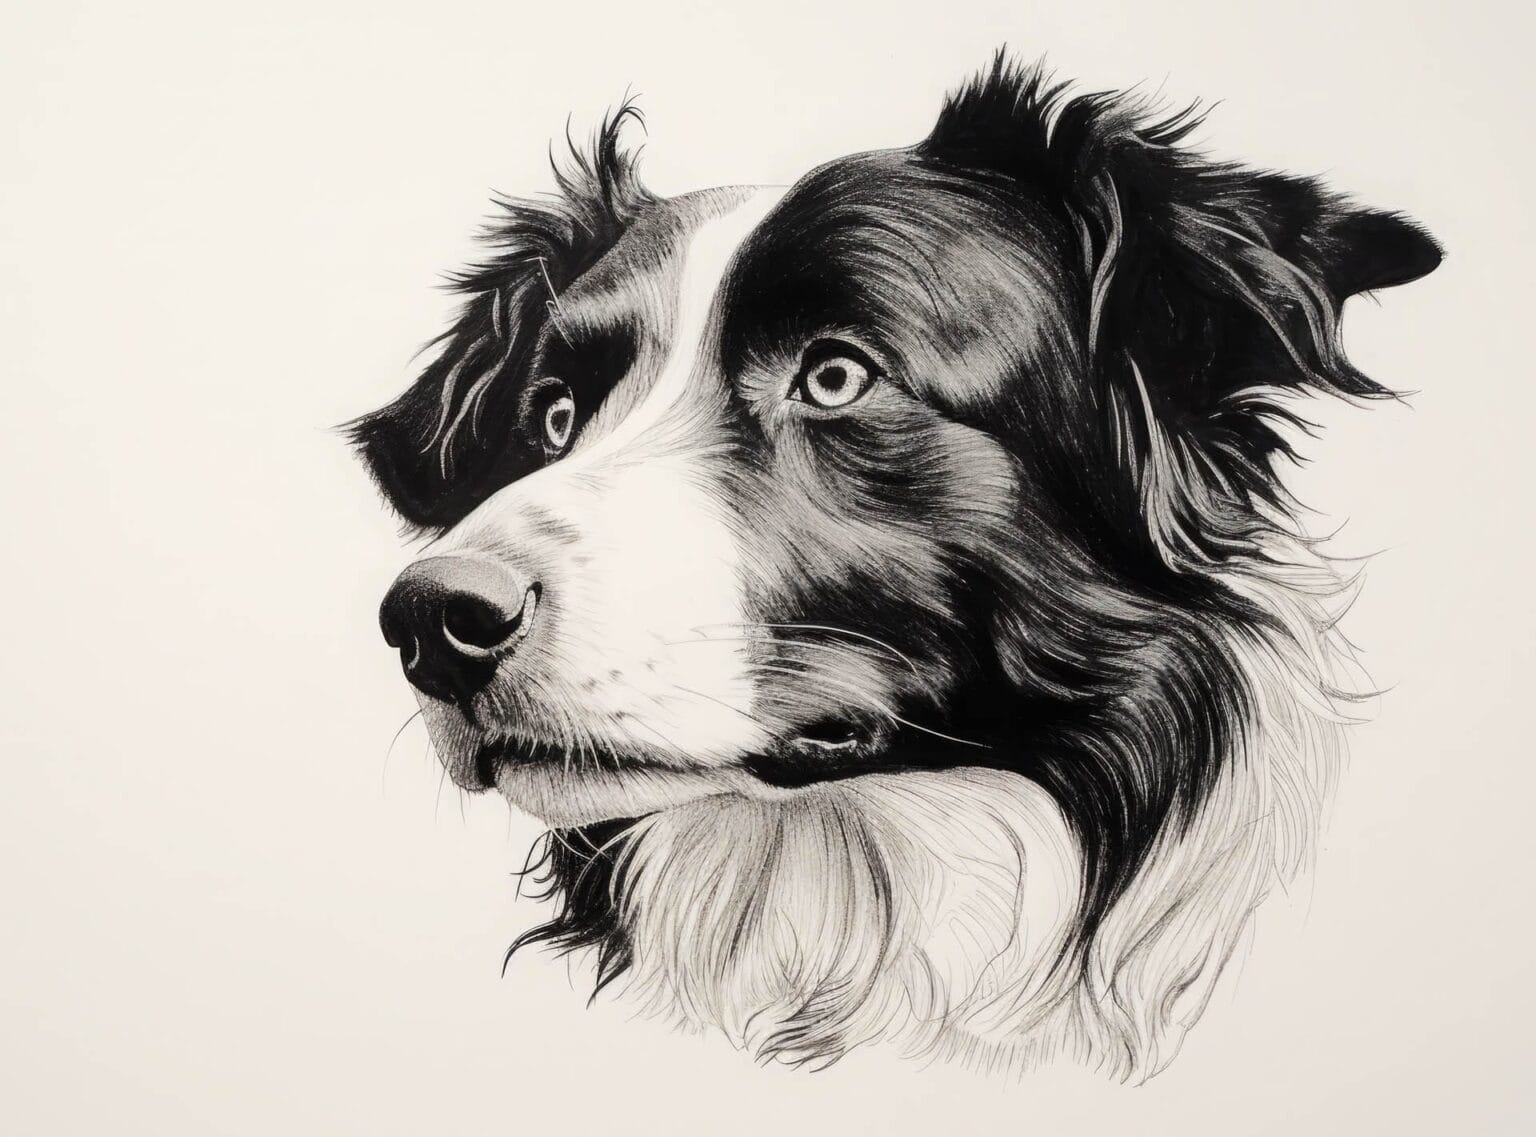
Step 4: Adding the Eyes
When drawing your dog, pay special attention to its eyes, which are vital in capturing its unique personality. To create realistic eyes, consider using a Fine-Liner brush to carefully outline their shape, ensuring you capture their size, placement, and any distinctive features they may have, such as the color of the iris or the shape of the pupils.
Add highlights and shadows to make the eyes pop and come to life on paper. This will help give the eyes depth and make them look more realistic. How light reflects off the eyes can significantly affect their appearance, so take your time to observe your dog’s eyes and replicate those details in your drawing.
By capturing the essence of your dog’s eyes, you can bring your artwork to life and evoke a sense of connection and emotion in the viewer. In conclusion, by giving extra attention to the eyes when drawing your dog, you can create a portrait that resembles them and captures their unique spirit and personality.
The eyes are a crucial element in any drawing, as they can convey a wealth of emotions and add a sense of life and realism to your artwork. So, take your time drawing your dog’s eyes, and experiment with different techniques to make them stand out and shine in your artwork.
Step 5: Detailing the Nose and Mouth when Drawing a Dog
When using the Fine Liner Procreate brush to draw your dog’s nose, carefully observe the size, texture, and any distinctive markings that make your furry friend’s nose unique. Attention to detail will help you create a more realistic and lifelike representation of your dog’s nose on your digital canvas.
In addition to the nose, don’t forget to capture the shape of your dog’s lips and any visible teeth when drawing the mouth. By carefully outlining these features, you can bring your dog’s facial expression to life in your artwork.
Take your time to ensure that the proportions and details are accurate, as they play a significant role in capturing your dog’s likeness. To enhance the realism of your drawing, use the Smudge tool to soften the edges of the nose, lips, and teeth.
This will help blend the different elements and create a more natural appearance. Experiment with different brush settings and pressures to achieve the desired effect. Don’t be afraid to refine and adjust your work until satisfied.
Focusing on these details and techniques can help you create a stunning and accurate portrait of your beloved canine companion using Procreate. Remember to have fun with the process and allow your creativity to shine through as you bring your dog’s features to life on your digital canvas.
Step 6: Rendering the Ears
When drawing your dog, pay attention to its ears, as they can be a defining characteristic of its breed. Different breeds have varying ear shapes, sizes, and positions. For example, a German Shepherd’s ears are typically erect, while a Basset Hound’s ears are long and droopy.
Using a Fine Liner brush can help you accurately depict these differences. Start by sketching the basic shape of the ears, considering whether they are pointy, rounded, long, or short. Consider how they fold or flop over, and capture these details in your drawing. If the ears stand erect, precisely outline them to reflect their alert and perky nature.
Use shading techniques to give the ears depth and dimension. Add darker tones to the inner part of the ear to create a sense of shadow and volume. Lightly shade the outer edges to make the ears appear more three-dimensional. Pay close attention to where the light source comes from to ensure your shading is consistent and realistic. By focusing on the ears, you can bring your dog drawing to life and showcase the unique characteristics of its breed.
Take your time and practice observing different dog breeds to improve your ear-drawing skills. Remember, attention to detail and careful shading can significantly improve the overall quality of your artwork.
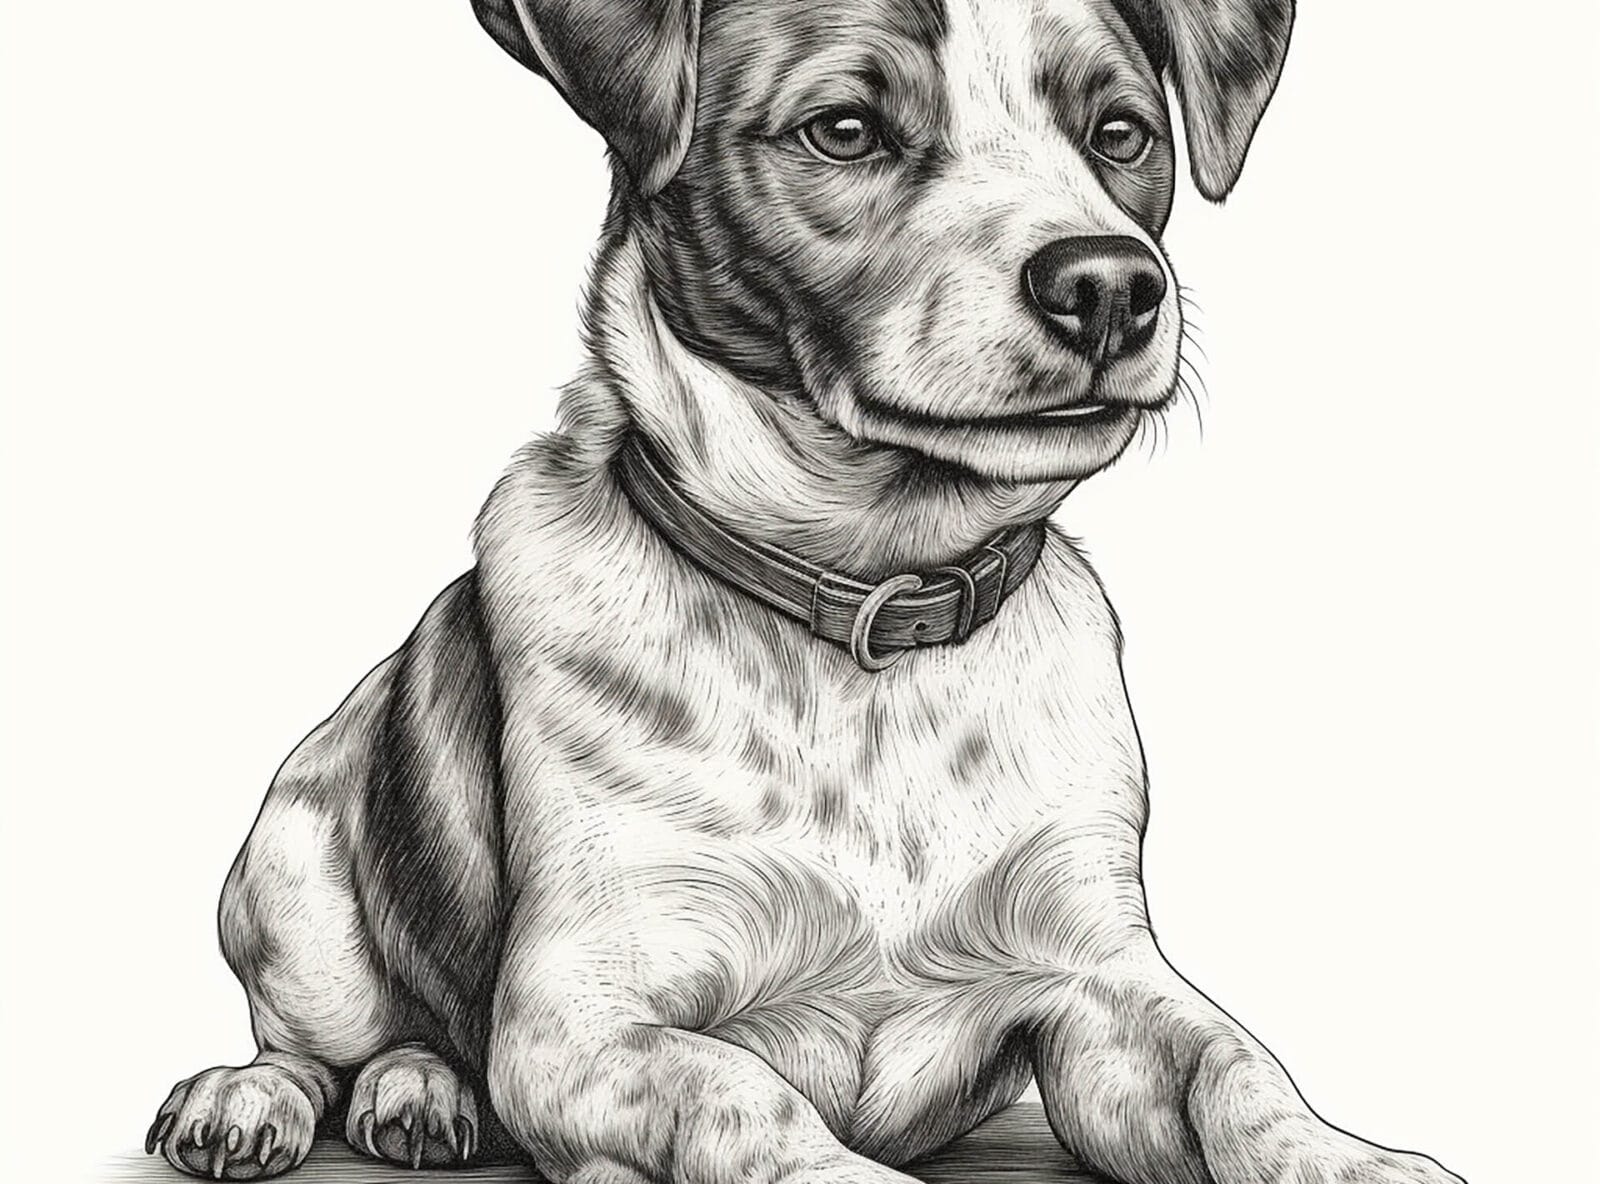
Step 7: Fur Texture and Markings When Drawing a Dog
Now, it’s time to bring your drawing to life by adding fur texture and unique markings or patterns. Use the Fur brush to create short, directional strokes that mimic the growth pattern of your dog’s coat. For longer fur, use the digital Hair brush to create flowing lines. If your dog has specific markings or patches of color, use the Color Picker tool to sample the appropriate shades and paint them in using the Soft Brush.
Step 8: Adding the Setting
To give your drawing context and depth, consider adding elements of the setting around your dog. This could be a favorite toy, a piece of furniture, or an outdoor background. Use the Soft Brush and Smudge tool to create a sense of depth and atmosphere.
Step 9: Final Touches and Adjustments
Take a step back and assess your drawing as a whole. Make any necessary adjustments to the proportions, shading, or details. If required, use the Adjustments menu to fine-tune the brightness, contrast, and saturation of your drawing.
Step 10: Sharing Your Masterpiece
Once you’re satisfied with your drawing, it’s time to share it with the world! Export your artwork as a high-resolution PNG or JPEG file and share it on social media, print it out for framing, or even consider turning it into a custom pet portrait gift for a fellow dog lover.
Drawing A Dog Is Fun!
Drawing your pet dog using Procreate on the iPad Pro is a fun and rewarding way to capture your furry friend’s unique personality and likeness. By following these step-by-step instructions and observing and appreciating your dog’s distinct features, you can create a beautiful and lasting piece of digital art.
Remember, practice makes perfect, so don’t be discouraged if your first attempt doesn’t turn out exactly as you envisioned. Keep refining your skills, and soon, you’ll be creating stunning pet portraits you’ll cherish for years.
