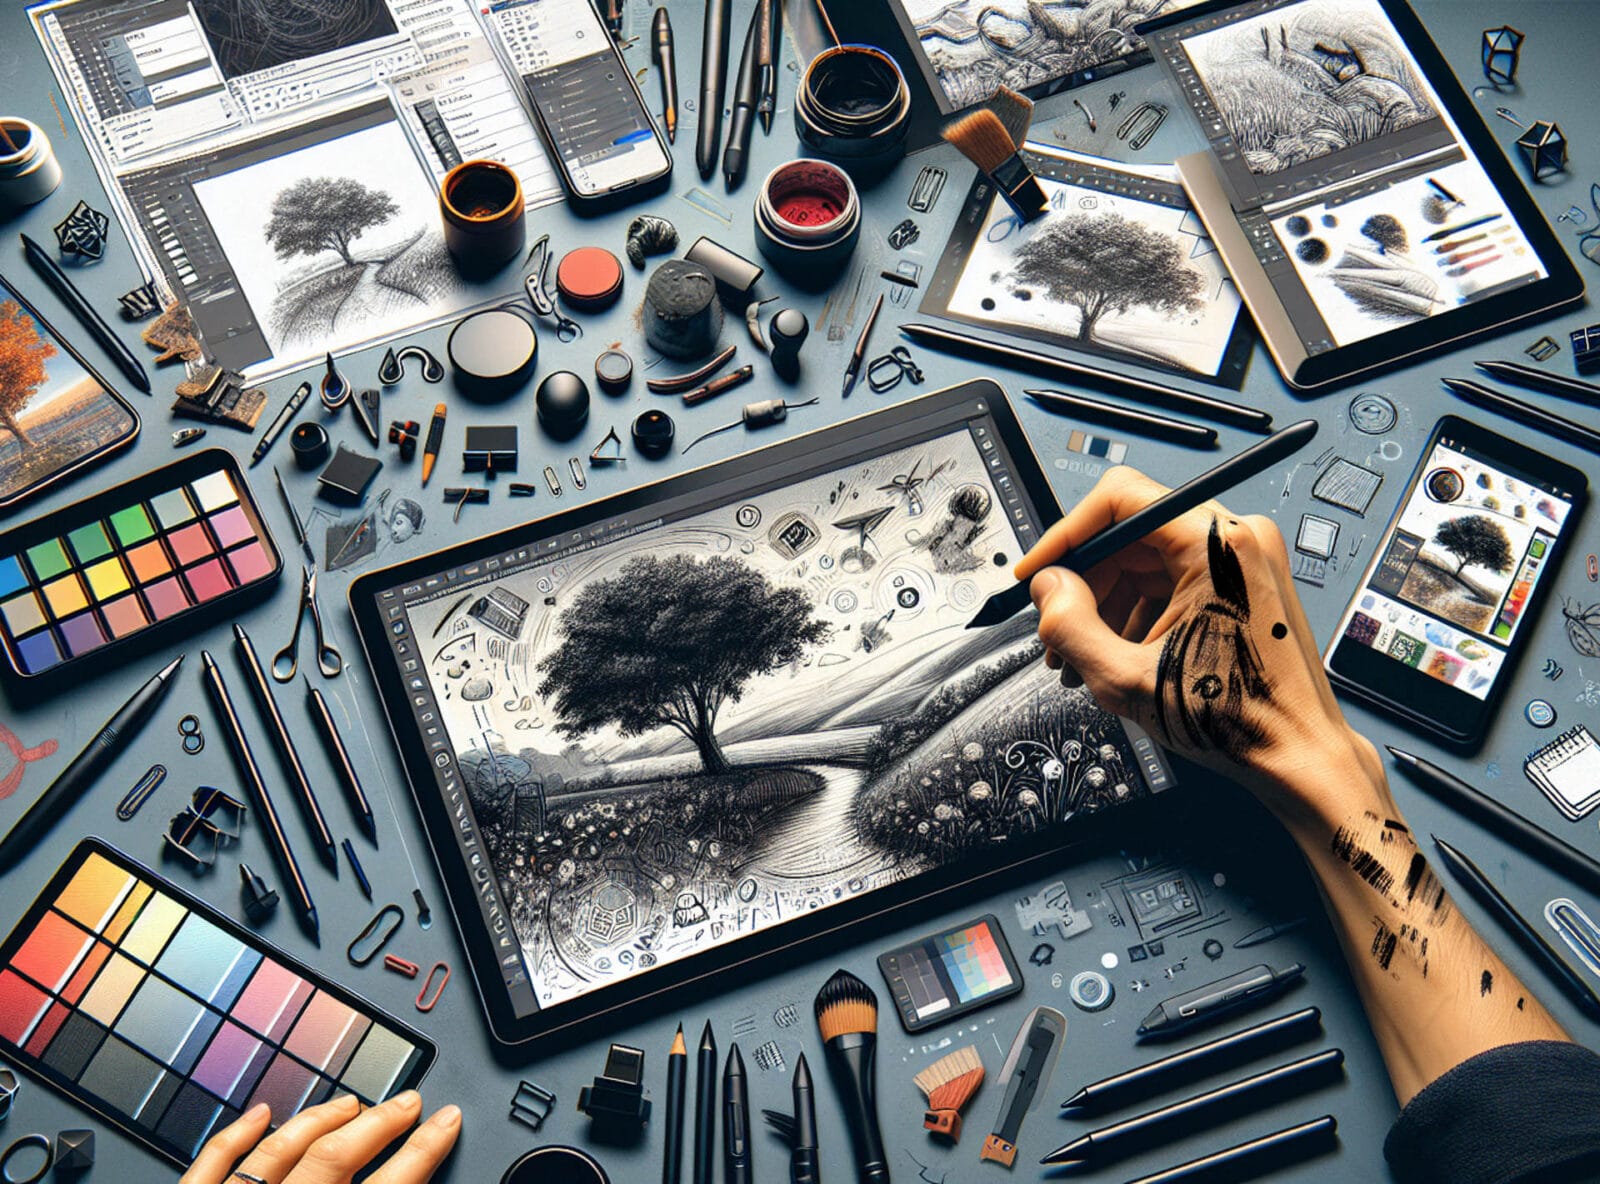
Sketching in Procreate can be an exciting and rewarding experience. Procreate is a powerful, user-friendly digital drawing app on the iPad that caters to professional artists and hobbyists. It offers a range of tools and features that can help you bring your creative visions to life.
If you’re new to Procreate, this guide will help you master the art of sketching on this digital canvas.
Getting Familiar with the Procreate Interface
Before delving into sketching, it’s essential to understand the Procreate interface. Upon opening the app, you’ll find the Gallery where your artworks are stored. Tapping on the plus icon (+) creates a new canvas. Once in your workspace, you’ll see a toolbar at the top with key options like the Gallery, Actions, Adjustments, and Brushes.
On the screen’s left side is a slider for brush size and opacity, while the right side houses the Color Picker, Smudge, Erase, and Layers panels. Spend some time clicking through these options and getting a feel for where everything is located and what it does.

Choosing Your Procreate Brush
Procreate has a vast library of brushes, including pencils, inks, paints, and other artistic tools. For sketching, it’s best to start with the Sketching brushes provided by Procreate. Try different pencil and charcoal brushes to understand how they mimic real-life drawing tools.
The key to mastering sketching is understanding which brushes you are most comfortable with and how they react to pressure and tilt with your Apple Pencil.
Understanding Layers in Procreate
One of Procreate’s most powerful features is the use of layers. Layers allow you to draw or sketch in parts without affecting the rest of your piece. They enable you to experiment and make changes without the fear of ruining your drawing.
Understanding how to create, duplicate, delete, and adjust layers is crucial to your sketching workflow. Always start your sketch on a new layer atop your canvas background, which allows you to edit the sketch without altering the paper texture or color.
Mastering Basic Sketching Techniques
When you’re comfortable navigating Procreate and picking your tools, it’s time to sketch. Start with simple shapes to get a feel for drawing on a digital surface. Practice using pressure sensitivity to vary the weight of your lines. Begin with light strokes to outline your subject and gradually add pressure to darken and define your lines. Consider the fundamentals of shading to give your sketches volume and depth.
Utilizing Procreate’s Advanced Features for Sketching
As your confidence grows, explore Procreate’s advanced tools to enhance your sketching. The QuickLine and QuickShape features create perfectly straight lines and geometric shapes with precision. Meanwhile, the Streamline setting on brushes can help you achieve smoother, more controlled strokes.
Don’t forget to play with the Adjustments panel. Features like Gaussian Blur can soften edges, and the Liquify tool can adjust aspects of your sketch fluidly and naturally.
Practicing Regularly and Seeking Inspiration
Practice is key to improving your sketching skills in Procreate. Try to sketch regularly, even if it’s just simple daily exercises. Also, explore the wealth of online resources available, including Procreate forums, tutorials, and social media groups where you can find inspiration, tips, and feedback from the community.
Conclusion: Embrace the Digital Art Learning Curve
Mastering sketching in Procreate for a beginner involves a learning curve. Don’t be discouraged by initial difficulties. Just like traditional sketching, proficiency comes with time and practice. Embrace the wealth of features Procreate provides and let your creativity flourish. With every sketch, you will get more comfortable and skilled in bringing your ideas to life on the digital canvas.

