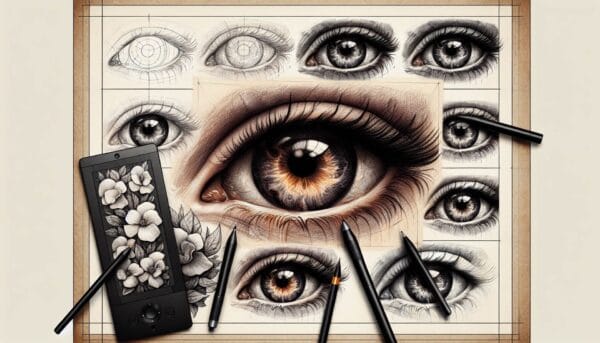
Keyword: Eye drawing digital
Digital eye illustration can be daunting for beginners, but it’s a skill that can be honed with patience and practice. The human eye is often considered the window to the soul, making it a focal point in character design and portraiture. Mastering the art of illustrating the eye digitally can bring life and realism to your artwork.
The Essentials of Digital Eye Illustration
Tools and Software for Digital Art
Before diving into the illustration process, equip yourself with the right tools. A reliable drawing tablet and stylus are indispensable for creating digital art. When selecting software, choose one that suits your needs and skill level; popular options include Adobe Photoshop, Corel Painter, and Procreate for iPads. These programs offer a plethora of brushes and tools designed to mimic the effects of traditional media.
Anatomy of the Eye
Understanding the anatomy of the eye is crucial. Study reference images to become familiar with parts like the sclera (white of the eye), pupil, iris, tear duct, and eyelids. Recognize how the eye interacts with light and shadow, as this will influence how you render it digitally.
Sketching the Basic Shape
Begin with a rough sketch, focusing on proportion and placement. Eyes are not perfect circles; they are slightly almond-shaped with the top eyelid often casting a shadow on the iris. Keep in mind the perspective of your subject – a three-quarter view will show the eye’s shape differently from a frontal view. Lightly sketch out the basic outline before refining the details.
Adding Color and Details
The iris is arguably the most complex part of the eye in terms of color and texture. Use multiple layers in your digital painting software to experiment with different hues and opacities. Start with a base color and gradually add layers of lighter and darker tones to create depth and dimension. Pay attention to the placement of the highlight, which adds the spark of life to the eyes.
Creating Realism with Shading and Highlights
Shading is essential for realism. The white of the eye, or sclera, is not pure white; it’s actually a sphere covered by a moist, reflective surface. Use shades of gray or pale blue to indicate its curvature and add a subtle glossiness. For the eyelids, think about the flesh and bone structure beneath the skin to help guide your shading. Blend your shadows and highlights to create a soft transition that mimics the roundness of the eyeball and depth of the eye socket.
Understanding Light and Reflection
The way light interacts with the eye can make or break your illustration. The highlight on the cornea is particularly critical; it suggests the light source and gives the eye a realistic wetness. Reflections can also tell a story, perhaps hinting at an unseen environment or the subject’s emotions. Keep reflections consistent with the light source and overall scene.
Final Touches
Once you are satisfied with the structure and color of the eye, it’s time for final adjustments. Reassess the contrast, details, and edges. In digital painting, layers allow you to tweak small areas without affecting the entire piece. Use layer modes to enhance the vibrancy of the iris or add subtle textures that mimic the fine lines found in a real eye.
Practice and Perseverance
Like any artistic skill, mastering digital eye illustration takes practice. Draw eyes in various shapes, sizes, and colors. Experiment with different expressions and angles. Over time, you will develop a keener sense of how eyes can convey emotion and character.
Conclusion
Mastering digital eye illustration opens up a world of expressive possibilities in your artwork. Whether your interest lies in portraiture, character design, or any other form of digital art, eyes are a captivating subject that resonates with viewers. Remember, patience and practice are your best tools in this journey. Embrace the learning process and watch as your digital eyes come to life.

