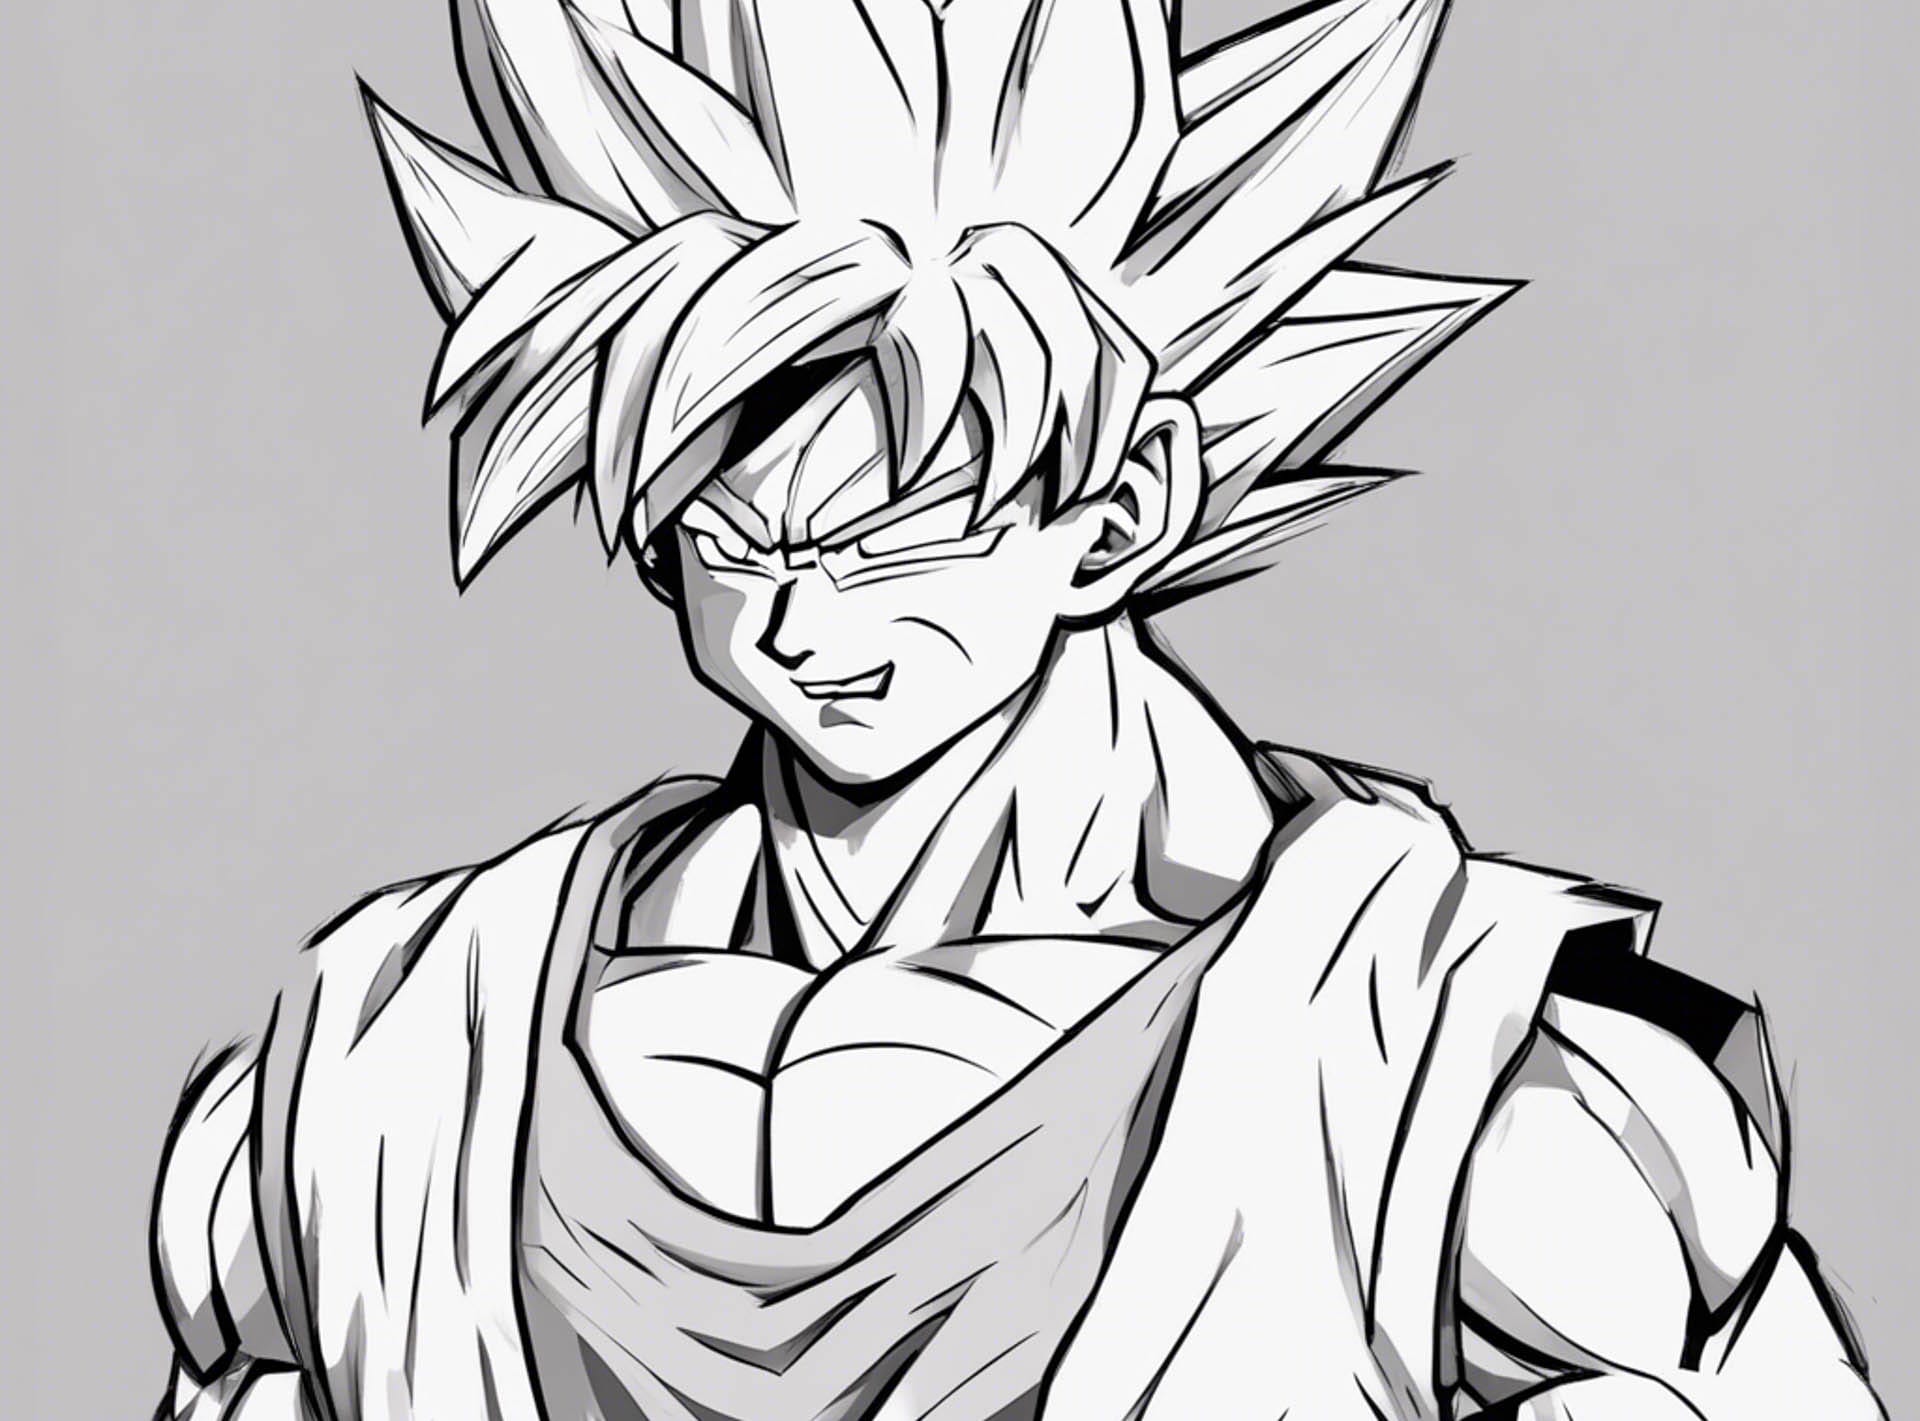
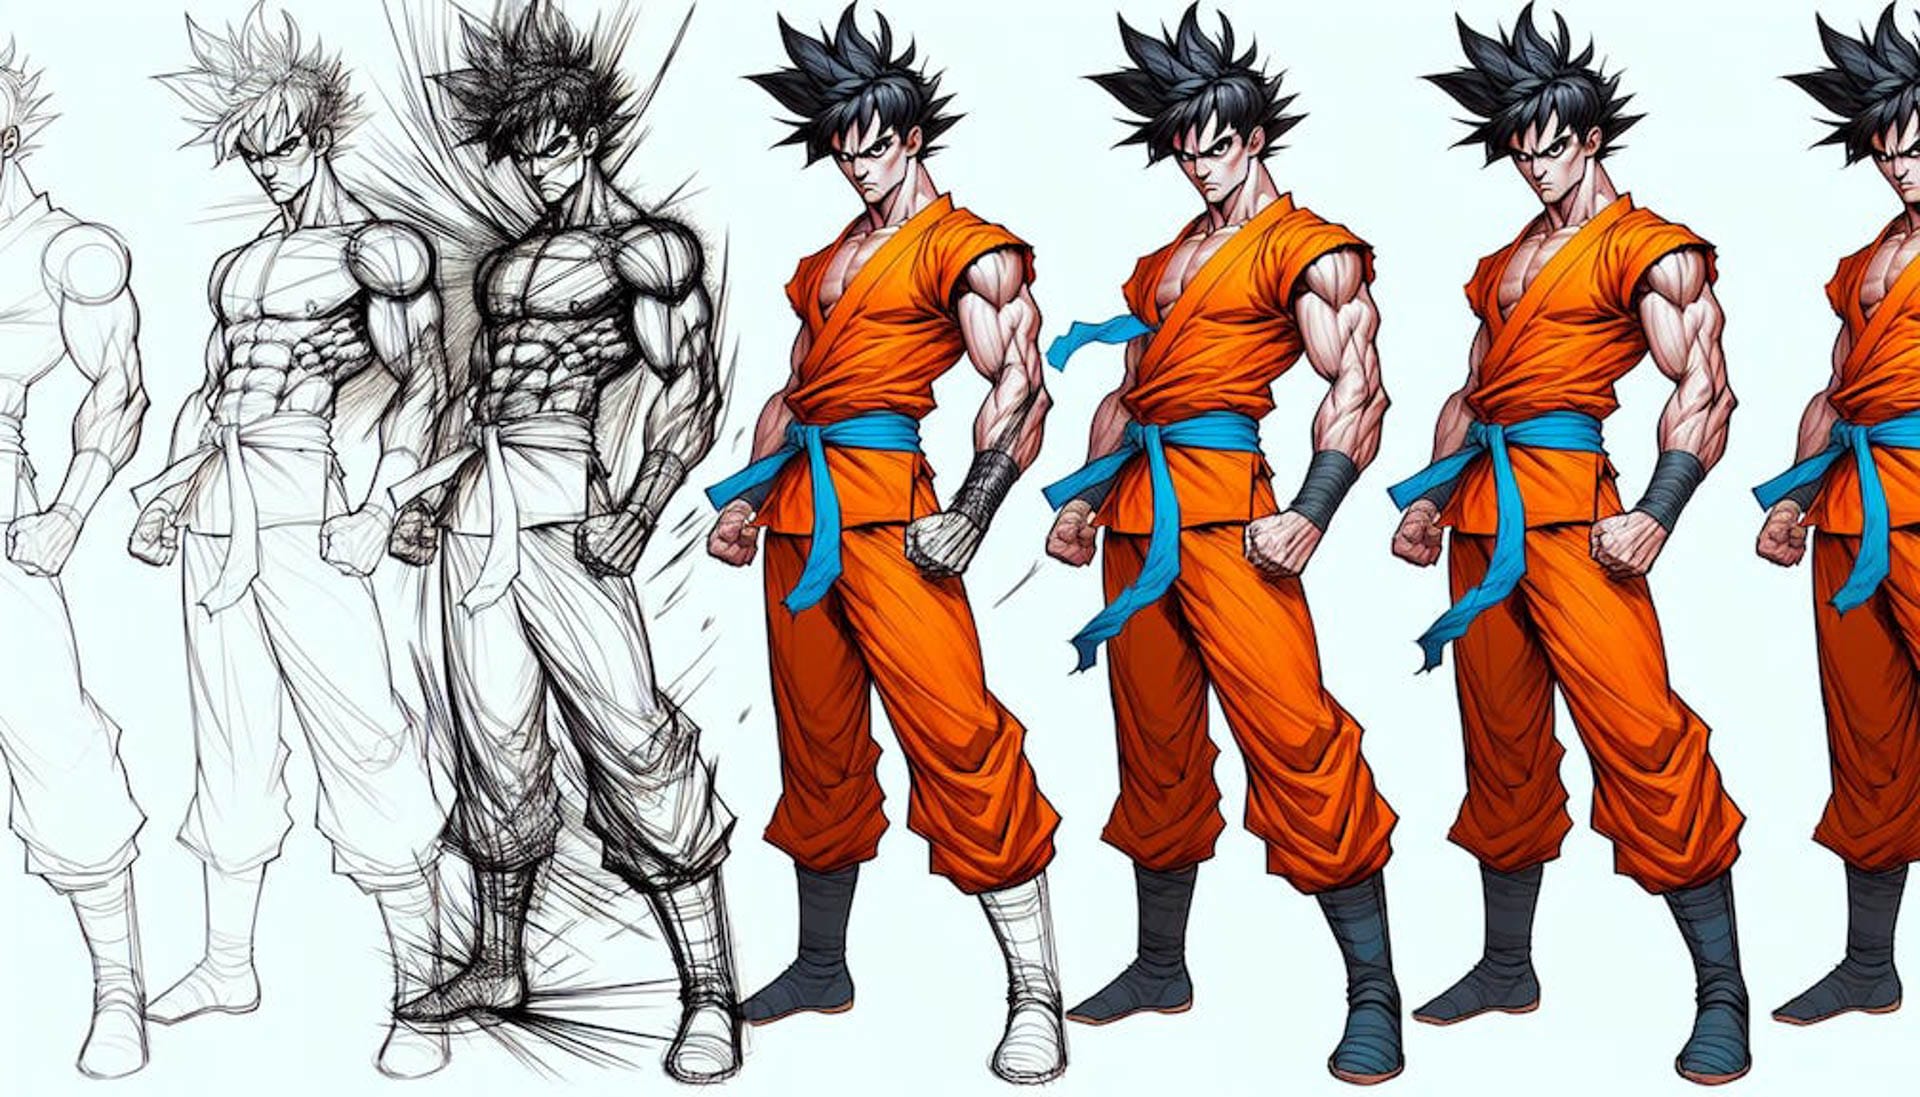
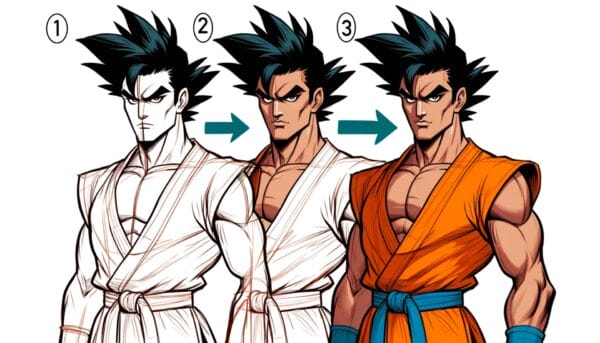
How do you draw Goku? Here’s the process at a glance: Begin by creating a stylized male character with spiky black hair, standing in a powerful martial arts pose. Continue by outlining a muscular physique, broad shoulders, and well-defined facial features. Dress him in a bright orange martial arts uniform with a blue undershirt and boots.
Next, focus on the intense facial expression, including large, determined eyes and a resolute mouth. Lastly, draw an aura of energy around him, signifying his power and strength. Remember to add small details such as the belt tied around his waist and wristbands.
If you’re a fan of the anime series Dragon Ball, then you’re likely familiar with its iconic hero, Goku. Drawing this beloved character can be a fun way to improve your artistic skills. Whether you’re a beginner or an experienced artist, this step-by-step guide will help you create a stunning rendition of Goku. So grab your pencil, and let’s get started!

Materials Needed
Before diving into the drawing process, make sure you have the following materials:
- Pencil (HB or 2B is ideal)
- Eraser
- Drawing paper or sketchbook
- Fine liner or ink pen (optional for outlining)
- Colored pencils or markers (optional for coloring)
Step 1: Sketching the Basic Shape of the Head
Start by lightly sketching the shape of Goku’s head. It’s generally an oval shape, but slightly narrower at the bottom where the chin is. Remember to keep your lines light to make them easier to erase or adjust later on.
Step 2: Drawing Facial Guidelines
Draw a vertical line down the middle of the oval to help you place the facial features symmetrically. Then, draw a horizontal line across the center for the eyes. Add another horizontal line below that for the nose, and a third one for the mouth.
Step 3: Outlining the Eyes, Nose, and Mouth
On the horizontal line you drew for the eyes, sketch the distinct, angular shape of Goku’s eyes. They should have a sharp point on the outer corners and a rounded lower edge. Draw a small triangle underneath for the nose, and a firm line for the mouth. Make sure to capture Goku’s happy and determined expression.
Step 4: Adding the Hair
Goku’s hair is one of his defining features. Start by drawing the hairline around the forehead. Then, add tall, spiked shapes above his head for his distinctive hairstyle. Remember to draw these spikes in various sizes and angles to achieve Goku’s wild and spiky hair.
Step 5: Sketching the Ears and Further Details
On each side of the head, draw Goku’s ears, lining them up with the horizontal lines you created for the eyes and the nose. Then, add details inside the ears. You can also refine the hairline and add the trademark details in Goku’s hair.
Step 6: Drawing the Body and Clothing
Draw the neck leading down from the head and rough out the shoulders. Goku wears a distinctive orange gi, so sketch the V-shape of the outfit’s neckline. Draw the folds and creases of the fabric, and don’t forget his signature blue undershirt and wristbands.
Step 7: Refining and Finalizing the Sketch
With all the elements of Goku in place, go back and refine your drawing. Adjust lines where necessary and add any additional details like muscle tone, folds in the clothing, and accessories like his belt. When you’re satisfied with the sketch, you can start to darken the lines for the final outline.
Step 8: Outlining and Erasing Pencil Lines
If you’d like to ink your drawing, use a fine liner to go over your pencil lines. This is the step where you can solidify your drawing and prepare it for coloring. Wait for the ink to dry completely before lightly erasing any visible pencil marks to clean up the image.
Step 9: Coloring Your Goku Drawing
Finally, grab your colored pencils or markers to bring Goku to life. Using the anime as a reference, fill in the colors of his hair, skin, and clothing, making sure to apply the appropriate shades and highlights. Take your time blending colors for a smooth and vibrant finish.

Conclusion
Drawing Goku is a fun and rewarding challenge for any artist or Dragon Ball enthusiast. By following this step-by-step guide, you’ve learned how to break down the process into manageable stages. With practice, you’ll be able to capture the essence and energy of Goku in your own unique artwork. Keep honing your skills, and enjoy the creative journey!

